back to home

HTML "map" tag

  1. The < map> tag is used to define a client-side image-map. An image-map is an image with clickable areas.
  2. The required name attribute of the < map> element is associated with the < img>'s usemap attribute and creates a relationship between the image and the map.
  3. The < map> element contains a number of < area> elements, that defines the clickable areas in the image map.
  4. < area shape="rect" coords="left,top,right,bottom" href="img/sun.jpg" alt="Sun">
  5. The image is inserted using the < img> tag. The only difference from other images is that you must add a usemap attribute.
    < img src="workplace.jpg" alt="Workplace" usemap="#workmap">
    The usemap value starts with a hash tag # followed by the name of the image map, and is used to create a relationship between the image and the image map.
    Note: You can use any image as an image map.
  6. Then add a < map> element.
    The < map> element is used to create an image map, and is linked to the image by using the name attribute.
    < map name="workmap">< /map>
    Note: You may insert the < map> element anywhere you like, it does not have to be inserted right after the image. The "name" attribute must have the same value as the "usemap" attribute.
  7. Then add the clickable areas. A clickable area is defined using an < area> element.

    Shape

    You must define the shape of the area, and you can choose one of these values: "rect" , "circle", "poly", "default"

    Coordinates

    You must define some coordinates to be able to place the clickable area onto the image. The coordinates come in pairs, one for the x-axis and one for the y-axis.
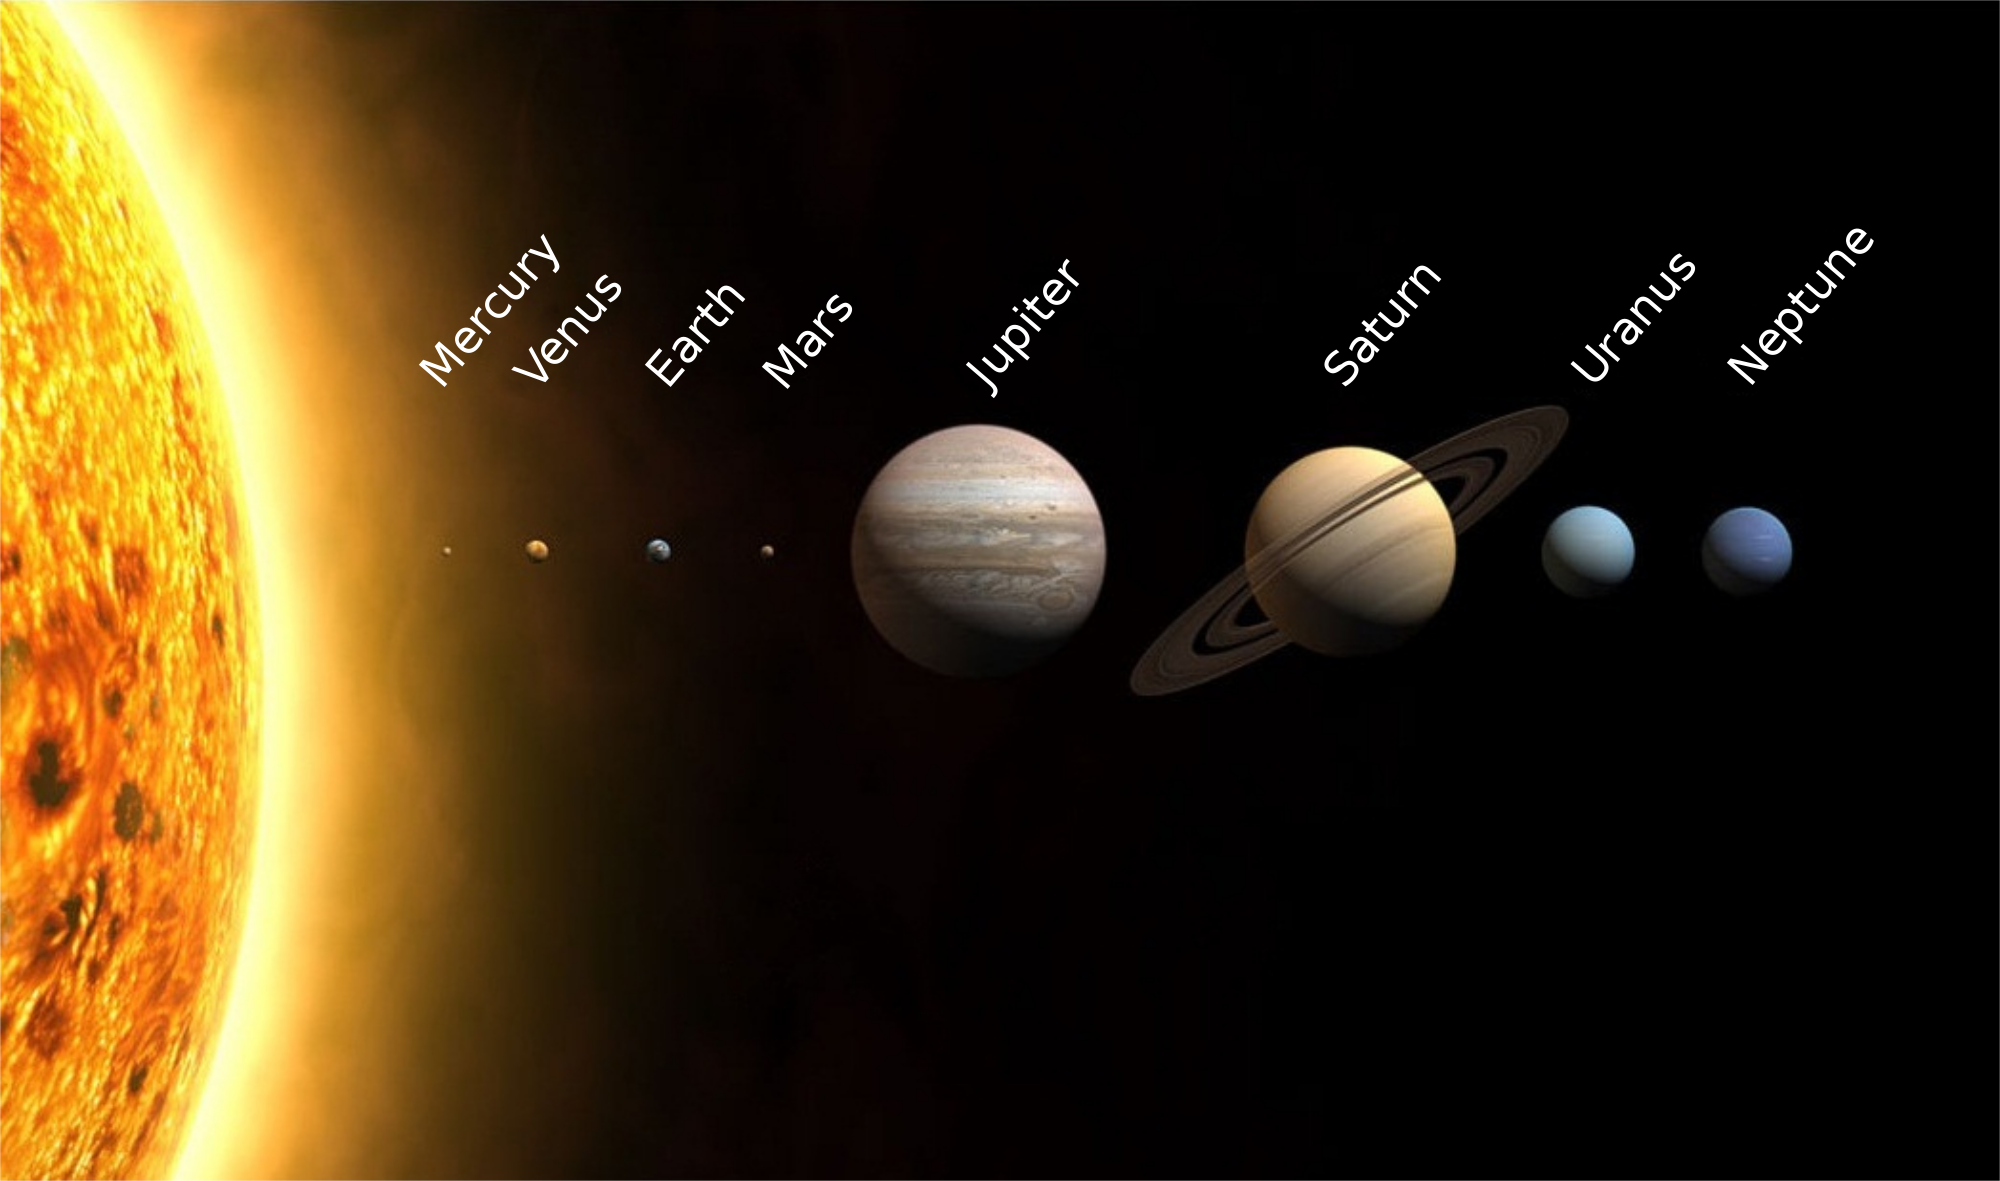
  8. Example, press any of the planet.. ^_^
    Planets Sun Mercury Venus Earth Mars Jupiter Saturn Uranus Neptune